Thank you! Your PDF is on the way! Check your Email for a link.
Thank you! Your submission has been received!
Oops! Something went wrong while submitting the form.
Unity
Game Dev
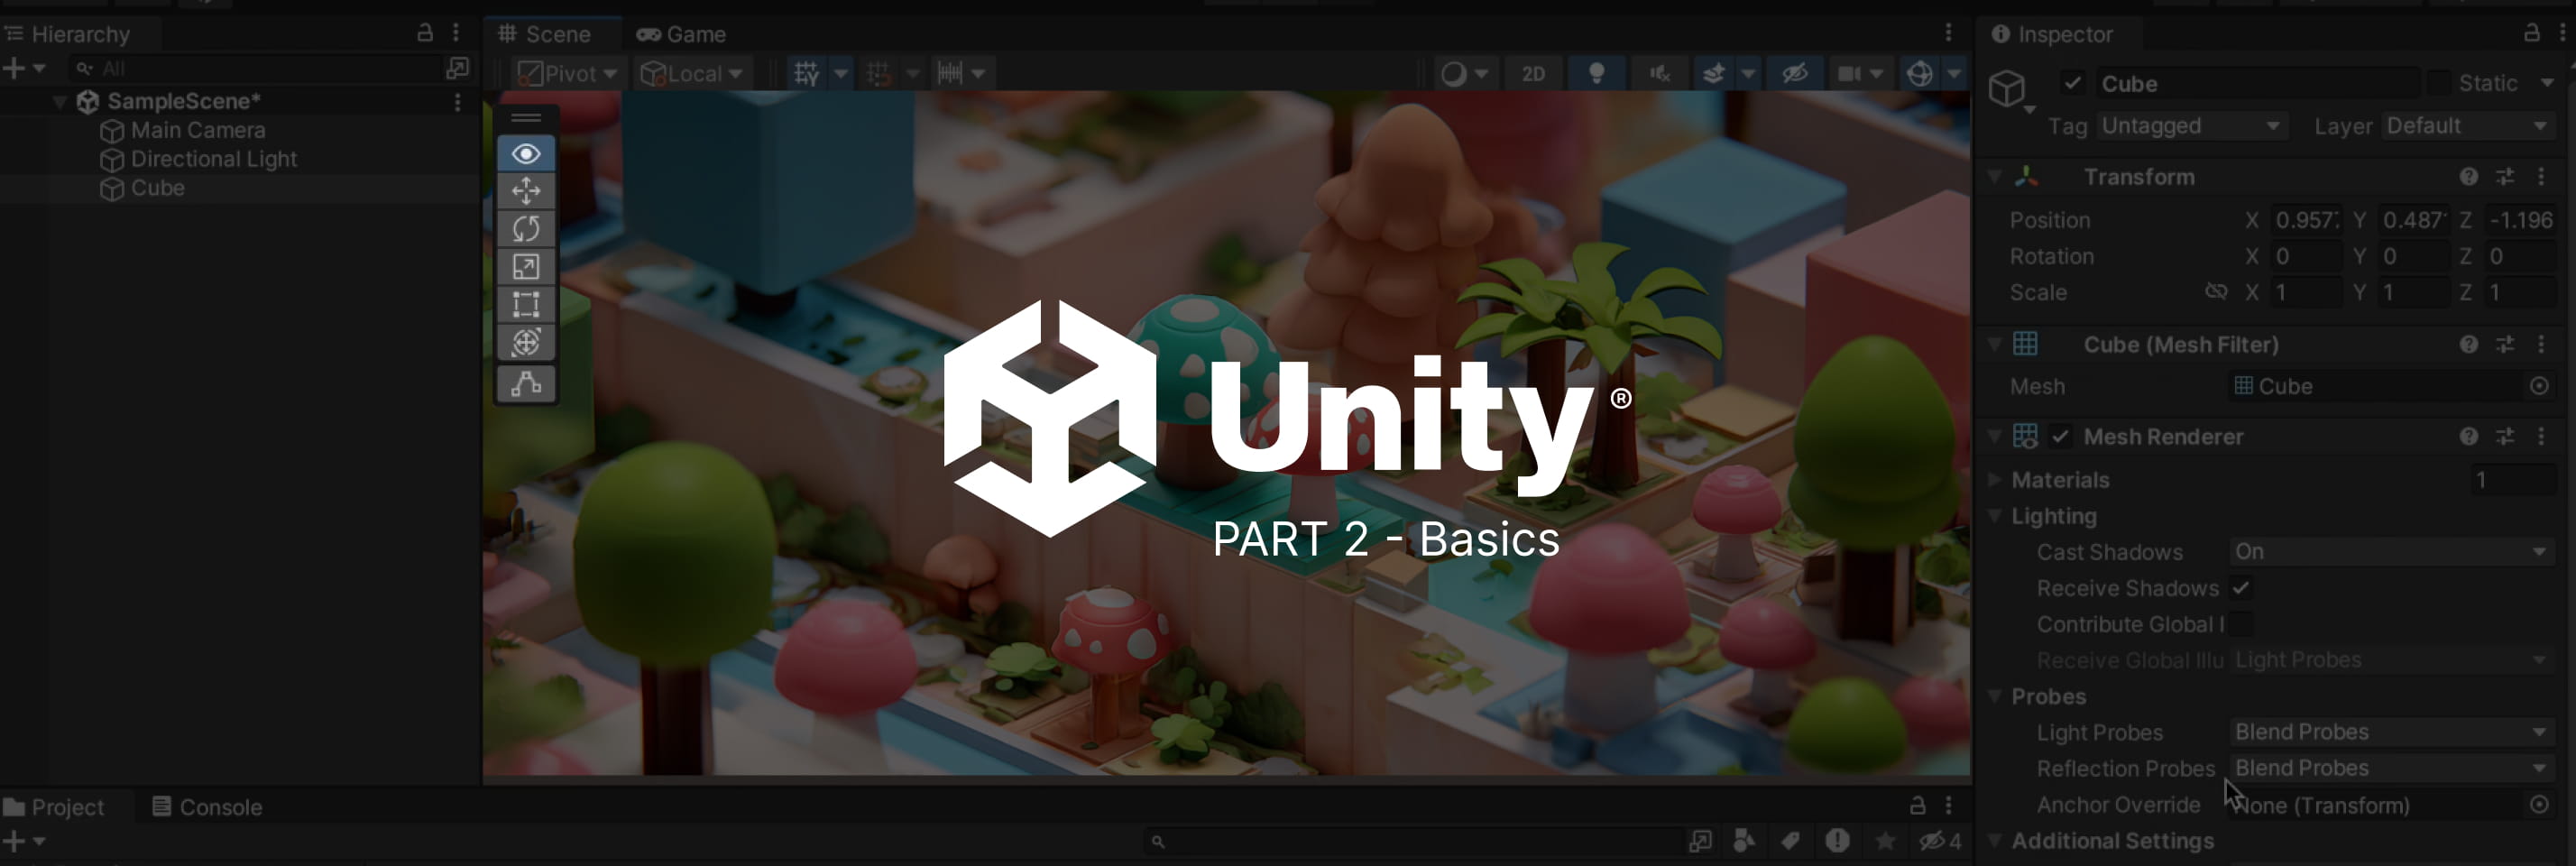
The Unity Editor: Unity Basics Part 2
Unity's editor interface can feel overwhelming at first, but it's actually quite logical when viewed as a digital film studio. The five essential panels include the Scene view (your 3D stage), Game view (camera perspective), Hierarchy (cast list), Inspector (object properties), and Project panel (asset library). Navigation basics and workspace customization help beginners feel comfortable before diving into actual creation.
Opening Unity for the first time can feel like stepping into the cockpit of a spaceship—buttons, panels, and menus everywhere, each seemingly critical but completely mysterious. Don't worry, that overwhelming feeling is completely normal. Even experienced developers remember that first moment of "Where do I even start?"
The good news? Unity's interface is actually quite logical once you understand the basic metaphor. Think of Unity as a digital film studio where you're the director, set designer, and camera operator all rolled into one.
This is the second article in our Unity Basics series for beginners. In our previous post, we explored what Unity is and why it's become so popular. Now we're taking our first steps inside the actual software to demystify the interface and get you comfortable navigating around.
The Workspace Metaphor: Your Digital Film Studio
Before diving into specific panels and buttons, let's establish a mental framework that will make everything else click into place.
Imagine you're creating a movie scene. You need:
A stage or set where the action happens
A camera to capture the scene from different angles
A script or blueprint that lists all the props, actors, and lighting
A toolbox to adjust properties of objects in your scene
A library of all your assets—models, sounds, textures, scripts
Unity's interface maps perfectly to this metaphor, with each major panel serving one of these roles. Once you see this connection, the seemingly chaotic arrangement of windows suddenly makes perfect sense.
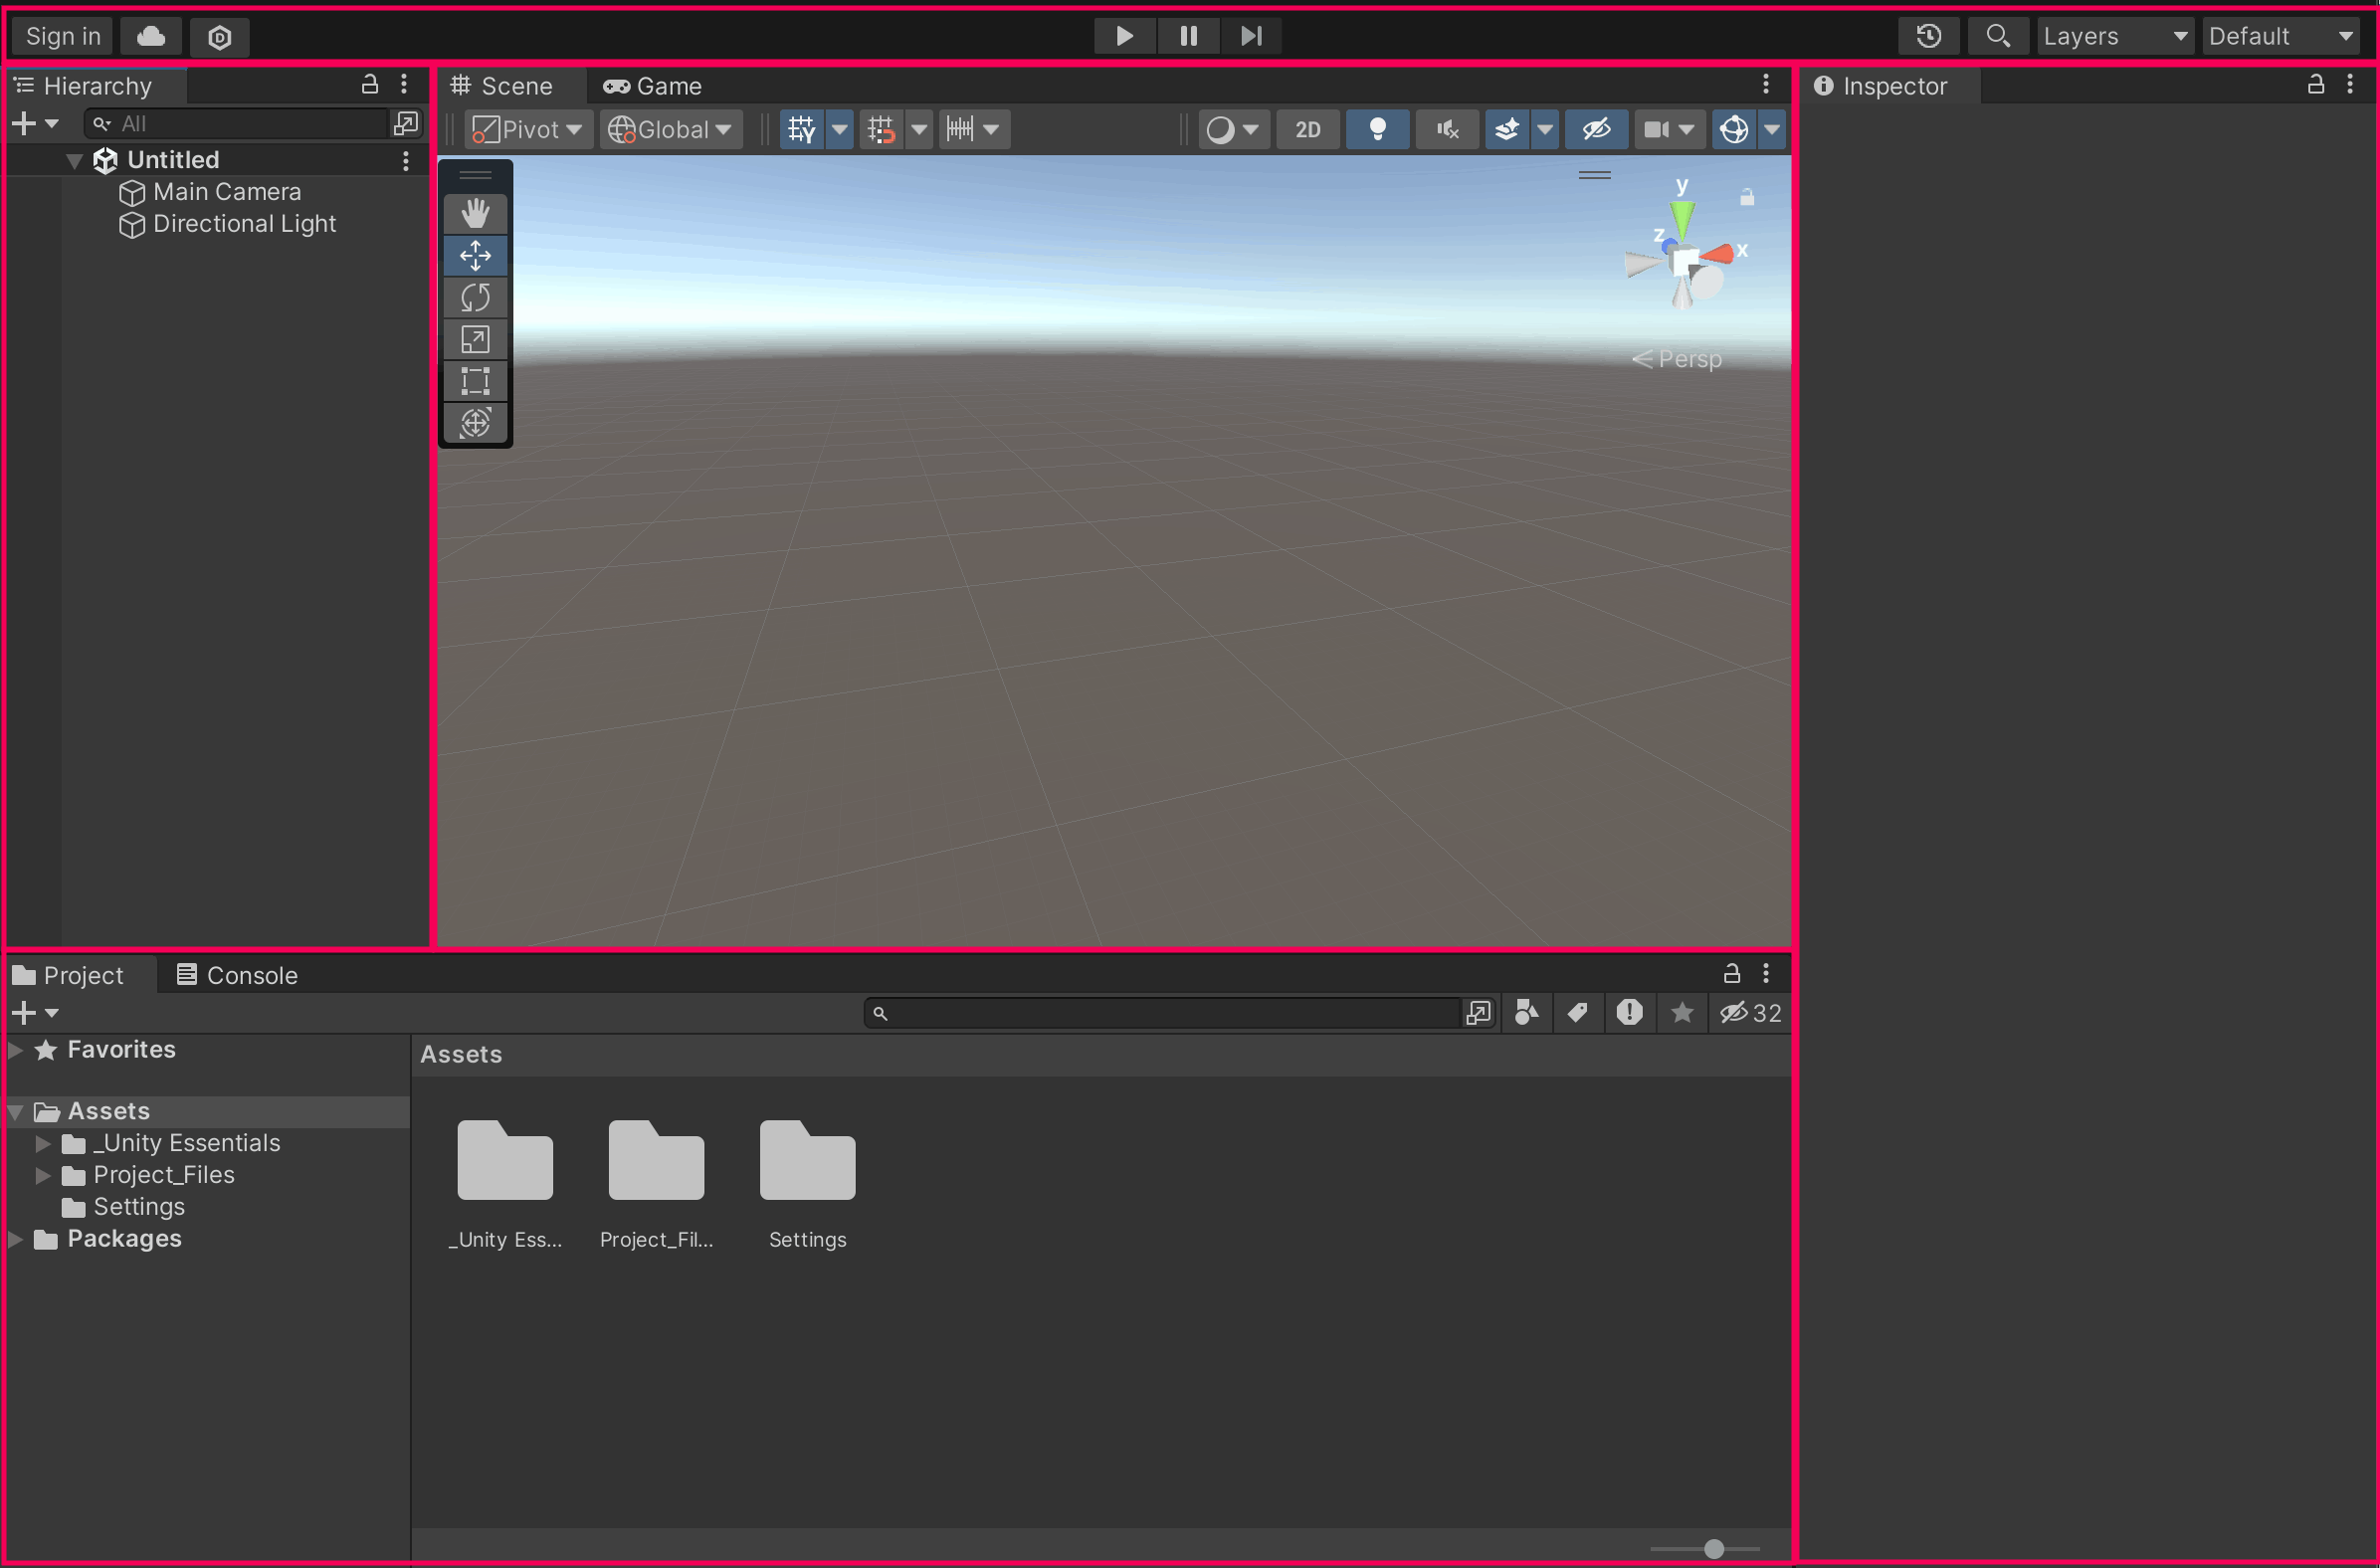
Your Main Workspace: The Five Essential Panels
The Scene View: Your 3D Stage
Think of this as your film set where you arrange everything
The Scene view is your main workspace—a 3D window where you build and arrange your virtual world. This is where you'll spend most of your time placing objects, adjusting lighting, and setting up your scenes.
Key features to notice:
You can click and drag to rotate around your scene
The colorful arrows (called gizmos) help you move objects around
The grid shows you the "ground level" of your world
Different viewing modes let you see wireframes, lighting, or textured objects
Navigation basics:
Right-click and drag to look around
Middle mouse wheel to zoom in and out
Alt + left-click and drag to orbit around objects
Hold Shift while moving to go faster
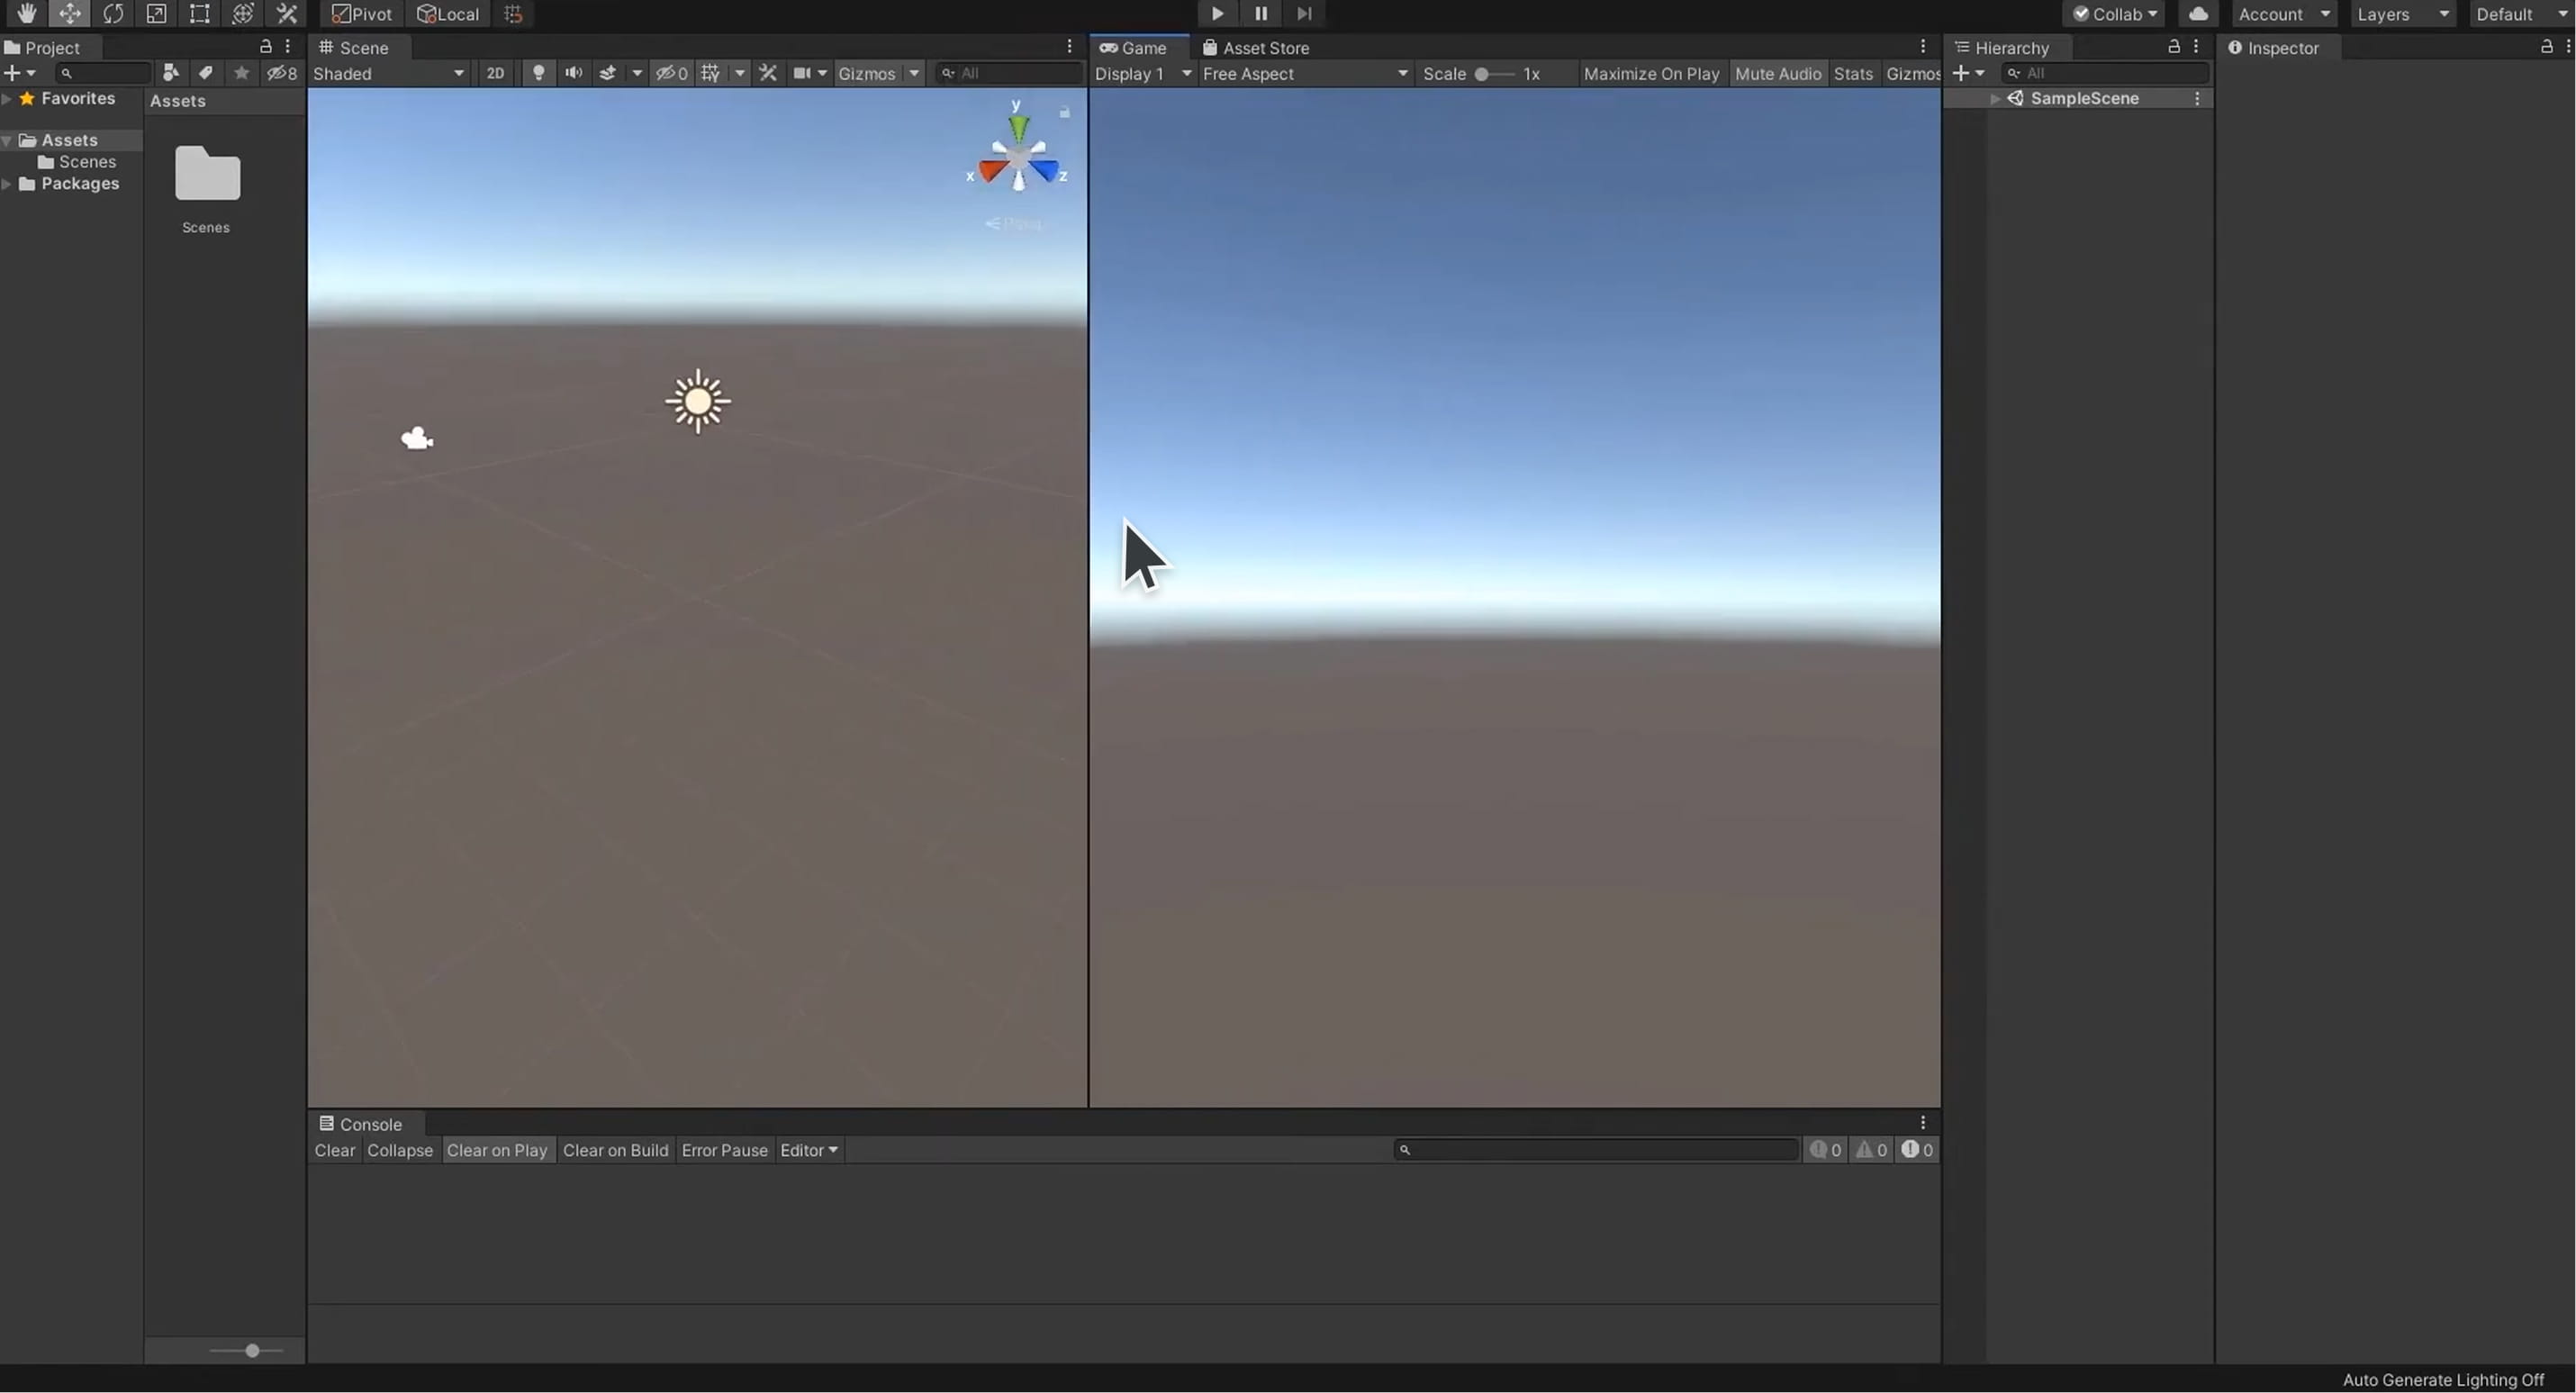
The Game View: Your Camera's Perspective
This is what your players will actually see
While the Scene view is your director's perspective, the Game view shows exactly what players will experience. It displays the output from your game's camera, complete with lighting, effects, and user interface elements.
Important note: The Scene and Game views often look different. The Scene view includes helpful visual aids (like those gizmos and grid lines) that don't appear in the final game. Think of Scene view as being on set with all the filming equipment visible, while Game view is the final movie footage.
The Hierarchy: Your Scene's Cast List
Every actor, prop, and light in your scene
The Hierarchy panel lists every single object in your current scene, organized like a family tree. This is your master inventory—if something exists in your 3D world, it appears here.
What you'll see:
GameObjects (Unity's term for any object in your scene)
Parent-child relationships (objects nested under others)
Cameras, lights, and 3D models all listed together
Why it matters: As your scenes get complex, the Hierarchy becomes your roadmap. Need to find that specific tree in a forest of 200 objects? The Hierarchy search box is your best friend.
The Inspector: Your Object Properties Panel
The control room for whatever you've selected
Select any object in your scene, and the Inspector shows you every detail about it—its position, rotation, scale, materials, behaviors, and more. Think of it as the object's complete profile or specification sheet.
Common properties you'll see:
Transform: Position, rotation, and size
Materials: How the object looks (color, texture, shininess)
Components: Special behaviors attached to the object (physics, scripts, lights)
Pro tip: The Inspector changes based on what you select. Click on a light, and you'll see brightness and color controls. Click on a 3D model, and you'll see material and mesh information.
The Project Panel: Your Asset Library
Every file and resource available to your project
The Project panel is your digital warehouse—every 3D model, texture, sound file, script, and material you can use in your project. It mirrors the folder structure on your computer where Unity stores your project files.
Key folders you'll notice:
Assets: Your main folder containing all project resources
Scenes: Saved 3D environments and levels
Scripts: Code files that add behaviors
Materials: Surface properties for 3D objects
Textures: Image files used on 3D models
Making It Feel Like Home: Customizing Your Workspace
One of Unity's strengths is workspace flexibility. Don't like where a panel is positioned? Drag it somewhere else. Need more space for the Scene view? Resize panels by dragging their edges.
Common customizations beginners find helpful:
Make the Scene view larger for easier navigation
Dock the Game view as a tab next to the Scene view for easy switching
Keep the Inspector wide enough to read property names clearly
Position frequently-used panels where they're easy to reach
Layouts for different tasks: Unity includes several pre-made layouts optimized for different activities. Try the "2 by 3" layout for general work, or "Tall" layout if you prefer more vertical space.
Your First Navigation Practice
Here's a simple exercise to get comfortable with the interface:
Create a new 3D project and let it load completely
In the Scene view, practice the navigation controls—right-click to look around, scroll to zoom
Look at the Hierarchy—you should see "Main Camera" and "Directional Light" listed
Click on "Main Camera" and watch how the Inspector changes to show camera properties
Try the Game view to see what the camera sees (probably just empty space with a sky)
Don't worry about creating anything yet—just get comfortable moving around and clicking on different elements.
Common Beginner Questions
"Why does everything look different from tutorials I've seen?"Unity's interface is highly customizable, and different versions have slightly different default layouts. The core panels remain the same, but their arrangement might vary.
"I accidentally closed a panel—how do I get it back?"Go to Window menu > General, and you'll see options to reopen any panel. You can also reset to default layout from Window > Layouts > Default.
"Why is my Game view just gray/blue?"This is normal! You haven't added any objects to your scene yet. The gray or blue you see is just the default "skybox"—essentially the background of your 3D world.
What's Next in Our Unity Journey
Now that you understand Unity's workspace, you're ready to start creating. In our next article, we'll dive into GameObjects—Unity's building blocks that make up everything in your 3D world. We'll create your first interactive scene and start bringing objects to life.
You'll learn how to:
Add 3D objects to your scene
Move, rotate, and scale objects
Understand the relationship between GameObjects and Components
Create your first simple interaction
The interface might feel overwhelming now, but after working through a few tutorials, these panels will become as familiar as the apps on your phone. Every Unity developer started exactly where you are right now.
Looking for a reliable partner for your next project?
At SLIDEFACTORY, we’re dedicated to turning ideas into impactful realities. With our team’s expertise, we can guide you through every step of the process, ensuring your project exceeds expectations. Reach out to us today and let’s explore how we can bring your vision to life!