Thank you! Your PDF is on the way! Check your Email for a link.
Thank you! Your submission has been received!
Oops! Something went wrong while submitting the form.
Unity
Game Dev
Materials & Lighting: Unity Basics Part 4
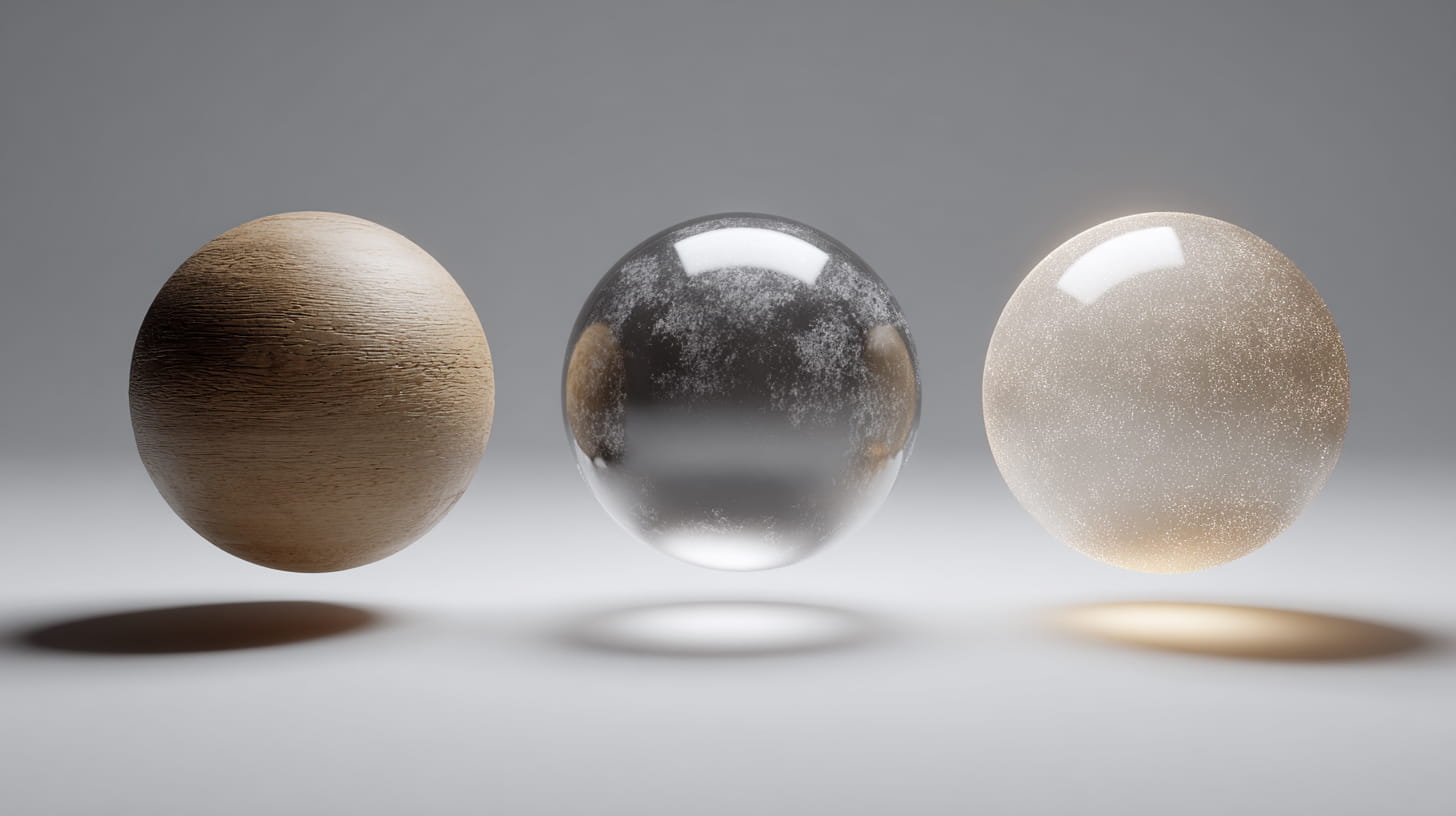
Materials are like digital "skins" that define how surfaces look—controlling color, shininess, transparency, and glow. Textures add detailed patterns like wood grain. Lighting sets mood and atmosphere through different light types and three-point lighting setups. Together, materials and lighting transform bland 3D cubes into convincing wood, glass, metal, or glowing energy surfaces.
Why does one cube look like polished wood while another appears to be made of glass? How can the same 3D model go from looking like cheap plastic to convincing metal just by changing a few settings? The answer lies in two of Unity's most powerful visual systems: Materials and Lighting.
If GameObjects are the Lego bricks of Unity, then materials are the paint job that makes each brick look unique, and lighting is the stage lighting that sets the mood of your entire scene. Master these two elements, and you'll transform bland, lifeless 3D models into visually compelling experiences that feel real and engaging.
This is the fourth article in our Unity Basics series for beginners. We've covered what Unity is, navigated the editor interface, and explored GameObjects and Components. Now we're diving into what makes Unity scenes look professional—the art of materials and lighting that brings your 3D worlds to life.
The Magic of Materials: Digital Skins for Your Objects
Think of materials as the "skin" of your 3D objects. Just like how the same person can look completely different with different clothing, makeup, and styling, the same 3D cube can look like wood, metal, glass, fabric, or even magical energy—all depending on the material you apply.
Materials control four key visual aspects:
Color and patterns (what hues and designs appear on the surface)
Surface properties (is it shiny like metal or matte like cloth?)
Transparency (can you see through it like glass?)
Self-illumination (does it glow like a light bulb or LED screen?)
In Unity, a material is like a recipe that tells the computer: "When light hits this surface, here's exactly how it should look." The computer follows this recipe millions of times per second to create the final image you see on screen.
Textures: The Detail That Makes It Real
While materials define the overall appearance rules, textures are the actual images that get "wrapped" around your 3D objects like wrapping paper around a gift box.
Common texture types you'll work with:
Albedo/Diffuse: The basic color and pattern (like a photo of wood grain)
Normal Maps: Fake surface bumps and details without adding geometry
Metallic Maps: Define which parts are metallic vs non-metallic
Roughness Maps: Control shininess across different areas
Real-world example: A wooden crate might use:
An albedo texture showing wood grain and color variations
A normal map creating the illusion of raised wood planks
A roughness map making some areas shinier (like worn edges) than others
The beauty is that all this detail is painted onto a simple cube—no complex 3D modeling required.
Creating Your First Materials
Let's walk through creating some distinctive materials to see this system in action:
Material #1: Polished Wood
Create a new Material in your Project panel
Set the Albedo color to a warm brown
Add a wood grain texture to the Albedo slot (Unity includes some basic textures)
Adjust Metallic to 0 (wood isn't metallic)
Set Smoothness to about 0.6 (wood has some shine when polished)
Apply this to a cube, and suddenly you have a wooden block that looks convincing under proper lighting.
Material #2: Glowing Energy
Create another new Material
Set Albedo to a bright cyan or electric blue
Increase Emission and set it to the same bright color
Adjust Emission Intensity to make it glow brightly
This material will actually emit light and illuminate nearby objects—perfect for sci-fi interfaces, magical crystals, or neon signs.
Material #3: Transparent Glass
Start with a new Material
Change Rendering Mode to "Transparent"
Set Albedo to white with Alpha around 0.3 (mostly transparent)
Increase Smoothness to 0.9 (glass is very smooth)
Set Metallic to 0 (glass isn't metallic)
Now you have a convincing glass material that you can see through while still reflecting the environment.
Lighting: Setting the Mood
Materials define how surfaces respond to light, but lighting determines the overall atmosphere and mood of your scene. The same medieval castle can feel welcoming with warm, golden lighting or ominous with cold, blue shadows.
Unity's main light types:
Directional Light: Acts like the sun, illuminating everything from one direction
Point Light: Like a light bulb, radiating light in all directions from one spot
Spotlight: Like a flashlight, creating a cone of light
Area Light: Like a window or light panel, creating soft, even illumination
The Three-Point Lighting Setup
Professional photographers and filmmakers use a classic setup called three-point lighting, and it works perfectly in Unity too:
1. Key Light (Main Light)
Your primary light source (often the Directional Light acting as sun)
Provides the main illumination and defines the overall brightness
Usually positioned at a 45-degree angle to your main subject
2. Fill Light
A softer light that fills in the shadows created by the key light
Prevents areas from being completely black
Typically positioned opposite the key light but much dimmer
3. Rim Light (Back Light)
Positioned behind your subject to create a bright outline
Separates the subject from the background
Creates depth and visual interest
Simple Lighting Tricks That Look Professional
Golden Hour MagicSet your Directional Light (sun) to a warm orange color with intensity around 1.2, and angle it low on the horizon. Instantly, your scene feels like it's lit by golden sunset light.
Cool Night AmbienceLower your Directional Light intensity to 0.3, change its color to cool blue, and add some warm Point Lights as artificial light sources (street lamps, windows, campfires).
Dramatic ContrastUse strong, directional lighting with deep shadows. Increase contrast by making your key light very bright while keeping fill lights dim or absent entirely.
Ambient Lighting for MoodUnity's Environment Lighting settings control the overall "background" light in your scene. Warm ambient light creates cozy feelings, while cool ambient light feels more mysterious or technological.
The Material-Lighting Relationship
Here's where the magic really happens: materials and lighting work together to create believable surfaces. The same material can look completely different under various lighting conditions.
Examples of this relationship:
Metallic surfaces reflect the environment, so they look dramatically different under bright vs dim lighting
Smooth materials create sharp reflections and bright highlights
Emissive materials glow consistently regardless of surrounding light levels
Pro tip: When your materials don't look right, often the issue is lighting, not the material settings. A perfect wood material will look like plastic under flat, even lighting, but becomes convincingly wooden under directional light with proper shadows.
Common Beginner Mistakes and Solutions
"My materials look flat and fake"
Add normal maps for surface detail
Vary the roughness across the surface
Improve your lighting setup with proper shadows
"Everything looks too shiny"
Most real-world materials aren't perfectly smooth
Reduce the Smoothness value on your materials
Only make things shiny that should be shiny (metal, glass, wet surfaces)
"My glowing materials don't actually light up the scene"
Increase the Emission Intensity value
Consider adding actual Light components for stronger illumination effects
Check that your lighting settings allow for emissive materials to contribute to global illumination
"My transparent materials look wrong"
Make sure Rendering Mode is set to "Transparent"
Adjust the Alpha channel in the Albedo color
Consider using "Fade" mode instead of "Transparent" for different effects
Your First Lighting Exercise
Ready to practice? Here's a hands-on exercise to cement these concepts:
Create a simple scene with a few primitive objects (cubes, spheres, cylinders)
Make three different materials: wood, metal, and glowing energy
Apply them to different objects in your scene
Experiment with the Directional Light: change its color, intensity, and angle
Add a Point Light in a different color to create interesting color mixing
Try different Environment Lighting settings to see how they affect mood
Move around in Scene view to see how materials look from different angles
Pay attention to how the same materials look completely different as you change the lighting conditions.
Real-World Applications
Understanding materials and lighting opens up incredible creative possibilities:
Architectural Visualization: Realistic wood, stone, and glass materials combined with accurate lighting create convincing building interiors and exteriors.
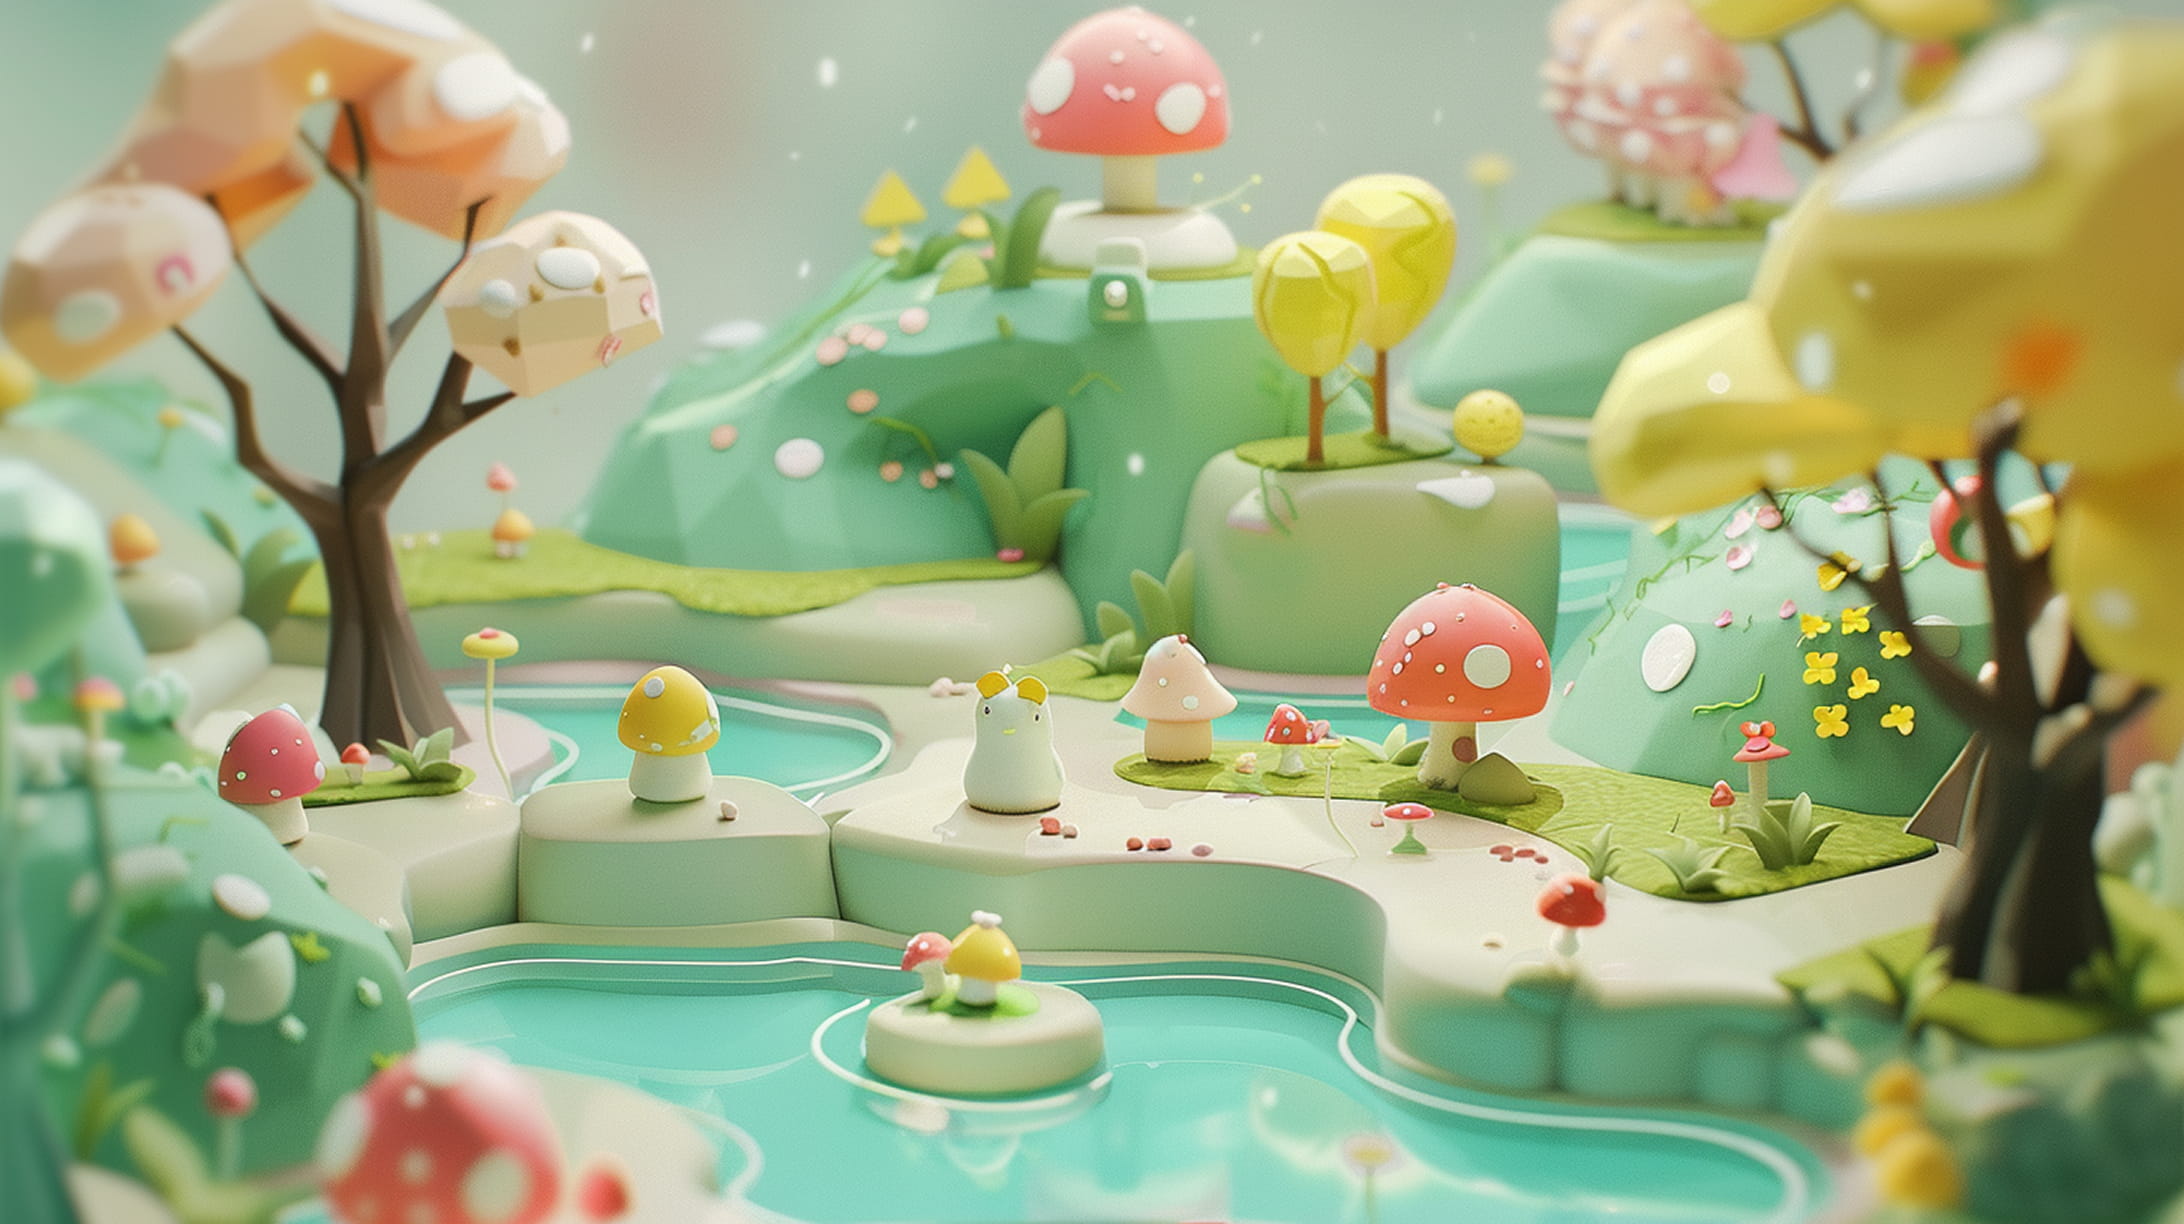
Game Environments: Different lighting moods guide player emotions—bright and warm for safe areas, cool and dim for dangerous zones.
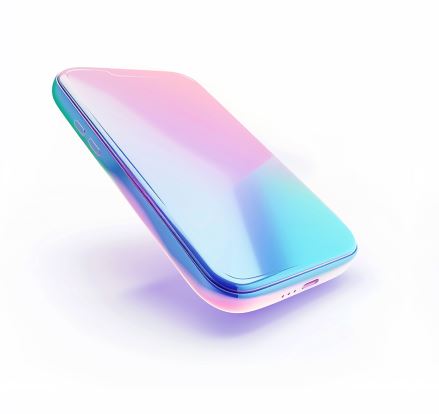
Product Visualization: Companies use Unity to create photorealistic product renders, showcasing everything from furniture to automobiles with perfect materials and studio lighting.
Artistic Expression: Artists use materials and lighting to create surreal, fantastical worlds that would be impossible to photograph in real life.
What's Next in Our Unity Journey
Now that you understand how to make your GameObjects look amazing with materials and lighting, you're ready to make them move and interact realistically. In our next article, we'll explore Unity's physics system—how to add gravity, collisions, and realistic movement to your objects.
We'll cover:
Rigidbodies and how physics simulation works
Colliders and collision detection
Making objects bounce, slide, and behave realistically
Creating interactive physics puzzles
Performance considerations for physics-heavy scenes
The combination of appealing visuals (materials and lighting) with realistic behavior (physics) is what transforms simple GameObjects into compelling, interactive experiences. You're building the complete skillset needed to create professional-quality Unity projects.
Want to watch us light up a scene in real time? Check out our companion tutorial video where we demonstrate creating these materials and lighting setups step-by-step, showing you exactly how small adjustments can create dramatically different moods and appearances.
Looking for a reliable partner for your next project?
At SLIDEFACTORY, we’re dedicated to turning ideas into impactful realities. With our team’s expertise, we can guide you through every step of the process, ensuring your project exceeds expectations. Reach out to us today and let’s explore how we can bring your vision to life!